How To Clean Your Atari |
 How
often do you clean your Atari systems? Once a year? Once a month? Once in a
lifetime? Or perhaps the (awful) answer is never? Giving your Atari a good
cleaning every so often can bring back those great memories of the days when it
was new and also inspire you to play it again (if you haven't in awhile.)
How
often do you clean your Atari systems? Once a year? Once a month? Once in a
lifetime? Or perhaps the (awful) answer is never? Giving your Atari a good
cleaning every so often can bring back those great memories of the days when it
was new and also inspire you to play it again (if you haven't in awhile.)
Another reason to clean an Atari system (or any system for that matter) is if you recently purchased one from a garage sale or auction and it comes layered in dirt, grime, dust, glue, and other unmentionables. Do you really want those years of grunge to ruin your experience of a new console in your home? Wouldn't you rather see it all spiffed up and restored to it's former glory? I thought so.
Here's what you'll need before cleaning your system:
(Disclaimer and Warning: I take no responsibility to any damage on your system if you take it apart. Avoid touching the circuit boards and do not work or place components on a carpet to prevent damage from static electricity. You can and should discharge any static electricity regularly during this procedure by touching a metal ground.)
 The first thing you will want to do in order to clean your system to
perfection is to take it apart. Dirt and grime can accumulate in the narrow
areas between plastic and cleaning it will be much easier if you can get full
access to those areas.
The first thing you will want to do in order to clean your system to
perfection is to take it apart. Dirt and grime can accumulate in the narrow
areas between plastic and cleaning it will be much easier if you can get full
access to those areas.
Every game system is different (obviously) and they all have their own crazy ideas about how best to put a system together. One of the most annoying features are the plastic clasps that hold the system together even if you take out all of the screws. (Case in point: The Atari 2600 Jr. Arrrrggghhh!) If you have removed all the screws and it still doesn't come apart, look carefully for those clasps. And be wary: They break easily.
Another troubling issue is that sometimes different screws are used to hold the case together. (Case in point: The Atari 1040 STe computer.) Make sure you label the screws (mentally or otherwise) so that you can correctly put the system back together again after cleaning. Place the screws in a plastic cup to prevent losing them.
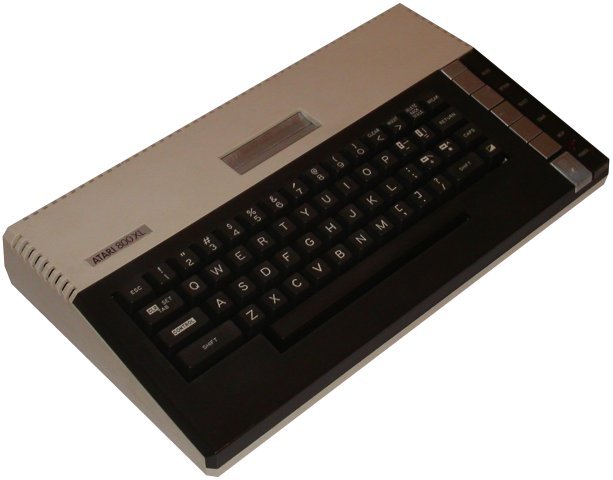 When you do get the case open, take note of any wires, plugs, or edge
connectors that may be plugged into both the top and bottom parts. (Case in
point: The Atari 800XL computer.) Often, keyboards or control panels on the top
of the system are connected by a tenuous system of wires that (hopefully)
disconnect easily. If they don't (Atari Lynx) you should be extremely careful in
cleaning or you might need to rethink the entire venture.
When you do get the case open, take note of any wires, plugs, or edge
connectors that may be plugged into both the top and bottom parts. (Case in
point: The Atari 800XL computer.) Often, keyboards or control panels on the top
of the system are connected by a tenuous system of wires that (hopefully)
disconnect easily. If they don't (Atari Lynx) you should be extremely careful in
cleaning or you might need to rethink the entire venture.
Now that you have the two halves of the system apart, you can remove the system board by removing the screws holding it down. Be very careful to hold the board by the edges to prevent electrostatic damage. Set the board aside in a safe place after removal. If you can't remove the board completely, be careful when cleaning the case it is attached to.
Once the board is removed you should begin looking for sub-parts of the case that can be removed for cleaning. For example, the buttons on the 2600 Jr. tend to collect "finger grime" that is difficult to clean without removing them completely. Again, be careful removing these smaller parts and remember how they were originally put together! The cowl protecting the cartridge slot is another part where dirt can collect. Remove it and other parts if the system you are dismantling allows it noting where each removed screw goes.
 Now that all the parts are spread out before you, mix some warm water with
soap in a bowl. Drop any all-plastic parts into the warm solution, but do
not put any metal or parts with stickers in the water or you will risk damaging
them.
Now that all the parts are spread out before you, mix some warm water with
soap in a bowl. Drop any all-plastic parts into the warm solution, but do
not put any metal or parts with stickers in the water or you will risk damaging
them.
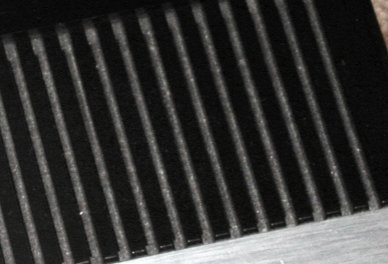
While those plastic parts are soaking, dip the sponge in the solution and carefully wipe off the dirt from the system case. Spend a little extra time getting into the crevices and make sure there is no lingering dust in there. Use this opportunity to clean the creases and even the insides of the system. Getting at those vents that Atari liked so much can be tricky, but you can use a toothbrush to clean them out. If there is any glue or sticky stuff on the case, use a little GooGone to clean those areas off. After cleaning, use the soft rag to dry the case. Dry it gently or you'll risk scratching the plastic (which is why you want to use the soft rag.) Also, drying the system immediately will prevent ugly water spots from drying on it.
It's probably best to avoid cleaning the system board with the soapy solution. This is likely the cleanest part of the system anyway and the less you touch it the better off you will be. However, you may consider blowing off any dust that has accumulated on it (outside, of course) to make it look new.
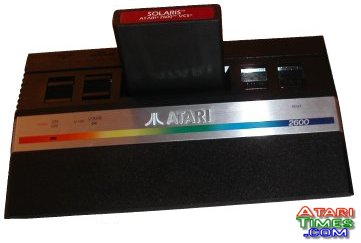
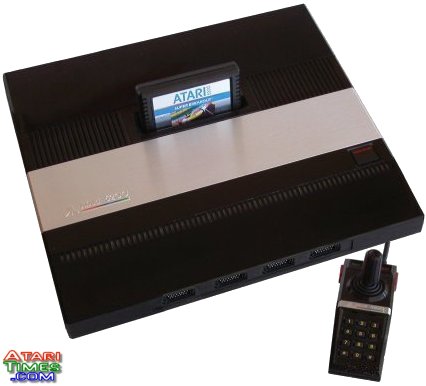 After
the case is cleaned, you can use some Armor-All to shine it up. Spray a
little on a clean rag and wipe the plastic areas while avoiding the metallic
parts. (It doesn't do much for metal.) This works great on textured-plastic
Atari systems such as the 2600 or 7800. Smooth plastic systems like the 5200
won't benefit much from the use of Armor-All, and will probably make it look
funny. But it won't hurt it.
After
the case is cleaned, you can use some Armor-All to shine it up. Spray a
little on a clean rag and wipe the plastic areas while avoiding the metallic
parts. (It doesn't do much for metal.) This works great on textured-plastic
Atari systems such as the 2600 or 7800. Smooth plastic systems like the 5200
won't benefit much from the use of Armor-All, and will probably make it look
funny. But it won't hurt it.
Now that the case is all cleaned and spruced up, start working on those loose plastic parts sitting the the soapy solution. Wipe down each part carefully making sure each surface has been cleaned of grime. If the part has tiny ridges in them (like the 2600 Jr. buttons) use a toothbrush to gently scrub them clean. Dry thoroughly before integrating the part back into the system. You can also use some Armor-All on these parts. (Ok, some would shoot me for saying that because they think the Atari should not look shiny or that Armor-All destroys the plastic. But to them I say, "Bah!")
Now comes the fun part: Putting the system back together again! Generally speaking, if you reverse what you did when you took it apart, you shouldn't have any problems. Be careful when you tighten the screws back into the system. The plastic for 20 year old game systems can be very brittle and might break if you tighten them too much.
Now that you have a new sparkling Atari system, it's time to show it off!
Invite some friends over and have them "ooh" and "ahh" at
the sight of your beautiful looking Atari! Oh, and don't forget to play some
games on it too.